No edit summary Tag: Source edit |
No edit summary Tag: Source edit |
||
| Line 84: | Line 84: | ||
| height="120px" width="120px" valign="middle" |<center>[[Image:Vial Hazard Type A.png|100px|Vial Hazard Type A]]</center> |
| height="120px" width="120px" valign="middle" |<center>[[Image:Vial Hazard Type A.png|100px|Vial Hazard Type A]]</center> |
||
|<center>'''VIAL HAZARD: TYPE A''' |
|<center>'''VIAL HAZARD: TYPE A''' |
||
| − | |Reduces opponent BLOCKBUSTER METER by {{Num| |
+ | |Reduces opponent BLOCKBUSTER METER by {{Num|25/35/??%}} (on HIT or BLOCK). |
|- |
|- |
||
| height="120px" width="120px" valign="middle" |<center>[[Image:Vial Hazard Type B.png|100px|Vial Hazard Type B]]</center> |
| height="120px" width="120px" valign="middle" |<center>[[Image:Vial Hazard Type B.png|100px|Vial Hazard Type B]]</center> |
||
|<center>'''VIAL HAZARD: TYPE B''' |
|<center>'''VIAL HAZARD: TYPE B''' |
||
| − | |{{Num|25/ |
+ | |{{Num|25/35/??%}} chance to remove all opponent BUFFS (on HIT or BLOCK). |
|- |
|- |
||
| height="120px" width="120px" valign="middle" |<center>[[Image:Vial Hazard Type C.png|100px|Vial Hazard Type C]]</center> |
| height="120px" width="120px" valign="middle" |<center>[[Image:Vial Hazard Type C.png|100px|Vial Hazard Type C]]</center> |
||
|<center>'''VIAL HAZARD: TYPE C''' |
|<center>'''VIAL HAZARD: TYPE C''' |
||
| − | |{{Num|25/ |
+ | |{{Num|25/35/??%}} chance to STUN for {{Num|4}} seconds (on HIT or BLOCK). |
|} |
|} |
||
| Line 103: | Line 103: | ||
! scope="col" style="width:50%;"|<center>Description</center> |
! scope="col" style="width:50%;"|<center>Description</center> |
||
|- |
|- |
||
| − | | height="120px" width="120px" valign="middle" |<center>[[Image:Countervenom Detox.png| |
+ | | height="120px" width="120px" valign="middle" |<center>[[Image:Countervenom Detox.png|120x120px|Countervenom Detox]]</center> |
|<center>'''COUNTERVENOM: DETOX'''</center> |
|<center>'''COUNTERVENOM: DETOX'''</center> |
||
|<center>'''3'''</center> |
|<center>'''3'''</center> |
||
| − | |Level 1 Blockbuster<br /> |
+ | |Level 1 Blockbuster<br />{{Num|15/25/35%}} chance ON HIT to remove all BUFFS. |
|- |
|- |
||
| − | | height="120px" width="120px" valign="middle" |<center>[[Image:Countervenom Paralysis.png| |
+ | | height="120px" width="120px" valign="middle" |<center>[[Image:Countervenom Paralysis.png|120x120px|Countervenom Paralysis]]</center> |
|<center>'''COUNTERVENOM: PARALYSIS'''</center> |
|<center>'''COUNTERVENOM: PARALYSIS'''</center> |
||
|<center>'''3'''</center> |
|<center>'''3'''</center> |
||
| − | |Level 1 Blockbuster<br /> |
+ | |Level 1 Blockbuster<br />{{Num|15/25/35%}} chance ON HIT to STUN opponent for {{Num|5}} seconds. |
|- |
|- |
||
| − | | height="120px" width="120px" valign="middle" |<center>[[Image:Countervenom Sedative.png| |
+ | | height="120px" width="120px" valign="middle" |<center>[[Image:Countervenom Sedative.png|120x120px|Countervenom Sedative]]</center> |
|<center>'''COUNTERVENOM: SEDATIVE'''</center> |
|<center>'''COUNTERVENOM: SEDATIVE'''</center> |
||
|<center>'''3'''</center> |
|<center>'''3'''</center> |
||
| − | |Level 1 Blockbuster<br />Reduce |
+ | |Level 1 Blockbuster<br />Reduce opponent BLOCKBUSTER METER by {{Num|15/25/35%}} on hit. |
|- |
|- |
||
| − | | height="120px" width="120px" valign="middle" |<center>[[Image:Checkmate Incision.png| |
+ | | height="120px" width="120px" valign="middle" |<center>[[Image:Checkmate Incision.png|120x120px|Checkmate Incision]]</center> |
|<center>'''CHECKMATE INCISION'''</center> |
|<center>'''CHECKMATE INCISION'''</center> |
||
|<center>4</center> |
|<center>4</center> |
||
| − | |Level 1 Blockbuster<br /> |
+ | |Level 1 Blockbuster<br />{{Num|25/35/??%}} chance on HIT to inflict BLEED for {{Num|5}} seconds. |
|- |
|- |
||
| height="120px" width="120px" valign="middle" |<center>[[Image:Laryngectomy.png|120x120px|Laryngectomy]]</center> |
| height="120px" width="120px" valign="middle" |<center>[[Image:Laryngectomy.png|120x120px|Laryngectomy]]</center> |
||
|<center>'''LARYNGECTOMY'''</center> |
|<center>'''LARYNGECTOMY'''</center> |
||
|<center>5</center> |
|<center>5</center> |
||
| − | |Level 2 Blockbuster<br /> |
+ | |Level 2 Blockbuster<br />{{Num|10/15/20%}} chance on HIT to inflict HEAVY BLEED for {{Num|10}} seconds. |
|- |
|- |
||
| − | | height="120px" width="120px" valign="middle" |<center>[[Image:Forbidden Procedure.png| |
+ | | height="120px" width="120px" valign="middle" |<center>[[Image:Forbidden Procedure.png|120x120px|Forbidden Procedure]]</center> |
|<center>'''FORBIDDEN PROCEDURE'''</center> |
|<center>'''FORBIDDEN PROCEDURE'''</center> |
||
|<center>6</center> |
|<center>6</center> |
||
| − | |Level 2 Blockbuster<br /> |
+ | |Level 2 Blockbuster<br />When HITTING the body of a fallen teammate, RESURRECT them with {{Num|10/15/20%}} HEALTH. |
|- |
|- |
||
| − | | height="120px" width="120px" valign="middle" |<center>[[Image:EKG Flatliner.png| |
+ | | height="120px" width="120px" valign="middle" |<center>[[Image:EKG Flatliner.png|120x120px|EKG Flatliner]]</center> |
|<center>'''EKG FLATLINER'''</center> |
|<center>'''EKG FLATLINER'''</center> |
||
|<center>7</center> |
|<center>7</center> |
||
| − | |Level 3 Blockbuster (UNBLOCKABLE)<br /> |
+ | |Level 3 Blockbuster (UNBLOCKABLE)<br />{{Num|25/??/??%}} bonus damage if opponent is suffering BLEED. |
|- |
|- |
||
| − | | height="120px" width="120px" valign="middle" |<center>[[Image:Dead On Arrival.png| |
+ | | height="120px" width="120px" valign="middle" |<center>[[Image:Dead On Arrival.png|120x120px|Dead on Arrival]]</center> |
|<center>'''DEAD ON ARRIVAL'''</center> |
|<center>'''DEAD ON ARRIVAL'''</center> |
||
|<center>8</center> |
|<center>8</center> |
||
| − | |Level 3 Blockbuster (UNBLOCKABLE)<br />If used to defeat an opponent, gain HEAVY REGEN for |
+ | |Level 3 Blockbuster (UNBLOCKABLE)<br />If used to defeat an opponent, gain HEAVY REGEN for {{Num|10/12/??}} seconds. |
|} |
|} |
||
==Combo== |
==Combo== |
||
Revision as of 05:10, 25 September 2020
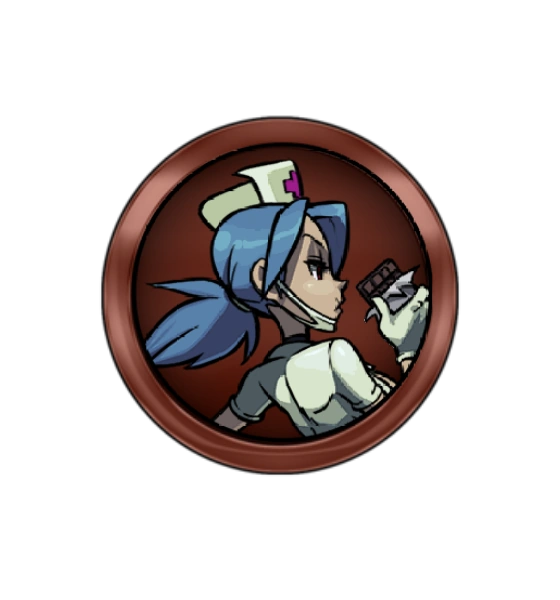
Valentine is both a healer and a disabler. She relies heavily on Combat Effects to control the flow of battle, keeping herself and her teammates healthy while applying numerous harmful effects to her enemies.
Valentine has a respectable Health pool, but with a low Attack, players should not expect to deal tons of damage through sheer brute force. A Valentine player will have to use all of the tricks she has up her sleeve to maximize her potential.
Valentine must rely heavily on her abilities to have success in battle. Luckily, she has an arsenal of them. She uses REGEN effects to keep herself and her teammates alive, and a number of abilities that debilitate her enemies.
Biography
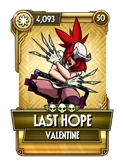
Valentine is the only survivor of the Last Hope, a group of special Anti-Skullgirl Lab operatives. Before meeting their end at the hands of the Skullgirl, the Last Hope worked for the mysterious Lab Zero and performed duties ranging from reconnaissance and sabotage to advanced research.
Now Valentine dutifully serves the Skullgirl, carrying out her will from the shadows. She keeps to herself, so much of her true nature and personality are unknown.
Abilities
Character Ability
Marquee Ability: COMBAT CLINIC
Variants
On mobile devices, tap on the variant text to navigate to their page, not their card.
Bronze:
 |
 |
Silver:
 |
 |
 |
Gold:
 |
 |
 |
 |
Diamond:
 |
 |
Special Moves
 |
On HIT, inflict BLEED for 5/7/10 seconds. | |
 |
TAUNT your opponent to gain REGEN for 10/??/?? seconds. | |
 |
??/25/??% chance on HIT to inflict BLEED for 8 seconds. | |
 |
25/50/??% chance to STUN opponent for 4 seconds if Valentine is benefitting from REGEN. | |
 |
Forces enemy to TAG OUT on HIT, removing all COMBAT EFFECTS. | |
 |
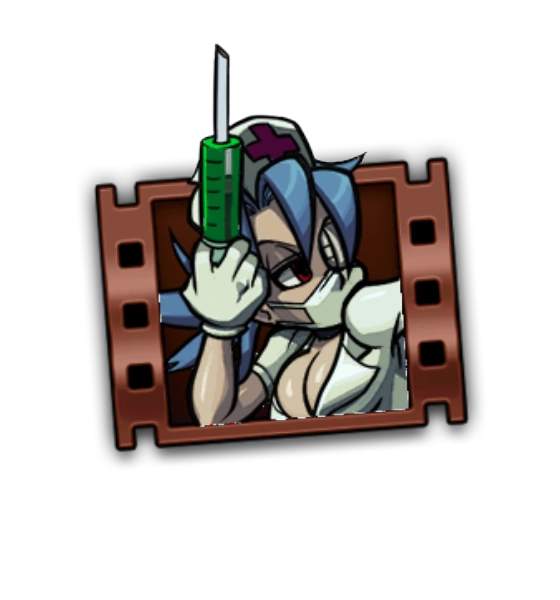
Reduces opponent BLOCKBUSTER METER by 25/35/??% (on HIT or BLOCK). | |
 |
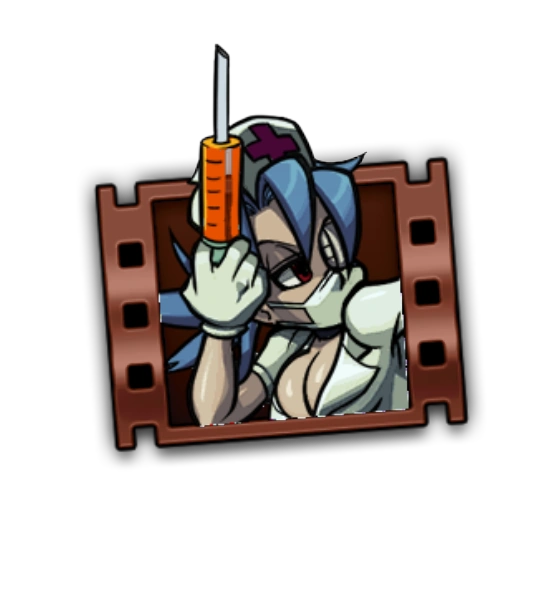
25/35/??% chance to remove all opponent BUFFS (on HIT or BLOCK). | |
 |
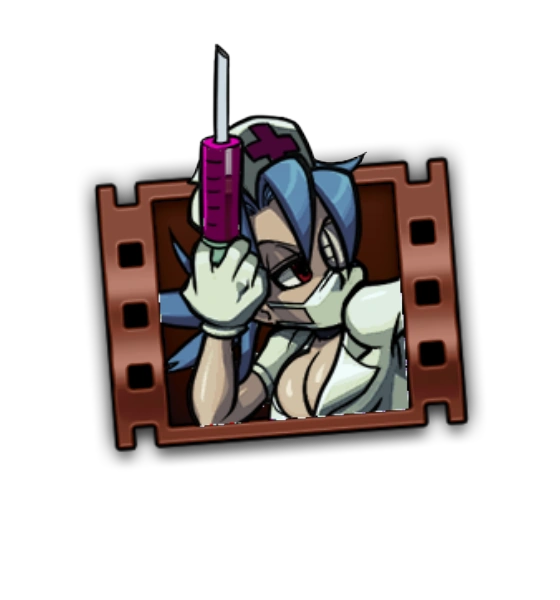
25/35/??% chance to STUN for 4 seconds (on HIT or BLOCK). |
Blockbusters
 |
Level 1 Blockbuster 15/25/35% chance ON HIT to remove all BUFFS. | ||
 |
Level 1 Blockbuster 15/25/35% chance ON HIT to STUN opponent for 5 seconds. | ||
 |
Level 1 Blockbuster Reduce opponent BLOCKBUSTER METER by 15/25/35% on hit. | ||
 |
Level 1 Blockbuster 25/35/??% chance on HIT to inflict BLEED for 5 seconds. | ||
 |
Level 2 Blockbuster 10/15/20% chance on HIT to inflict HEAVY BLEED for 10 seconds. | ||
 |
Level 2 Blockbuster When HITTING the body of a fallen teammate, RESURRECT them with 10/15/20% HEALTH. | ||
 |
Level 3 Blockbuster (UNBLOCKABLE) 25/??/??% bonus damage if opponent is suffering BLEED. | ||
 |
Level 3 Blockbuster (UNBLOCKABLE) If used to defeat an opponent, gain HEAVY REGEN for 10/12/?? seconds. |
Combo
NOTES:
- G5 = Ground Combo (Just tapping on the screen)
- D1 = Dash Attack (Swipe towards your opponent 1 or two times)
- Up = Launcher (Swipe up)
- A5 = Aerial Combo (Tapping on the screen while you and your opponent are airborne)
- S = Swipe/Trip (Swipe down)
BASIC
- D1 > G5 > Up > A5 > S
- D1 > G5 > Up > A5 > Countervenom > D1 > Countervenom > Countervenom
- D1 > G5 > Vial Hazard > G5 > Vial Hazard > G5 > Vial Hazard > G5 > Up > A5 > S
SITUATIONAL
- (at corner) D1 > G5 > Up > A5 > Countervenom > Countervenom > Countervenom > Forbidden Procedure (optional) > D1 (must time right)
- (at corner) D1 > G5 > Countervenom > G5 > Countervenom > G5 > Countervenom > G5 > Vial Hazard > G5 > Up > A5 > Forbidden Procedure > D1
Trivia
- Valentines Blockbuster "Checkmate Incision" is a reference to the Super Move of the a similar name used by DIO in the game "JoJo's Bizarre Adventure: Heritage for the Future". The moves themselves are nearly identical: the game freeze frames on Valentine throwing knives at her opponent, while DIO stops time with his Stand, THE WORLD, and throws knives at his opponent.