No edit summary Tag: Source edit |
No edit summary Tag: Source edit |
||
| (39 intermediate revisions by 5 users not shown) | |||
| Line 3: | Line 3: | ||
|attack = ★★★★✩ |
|attack = ★★★★✩ |
||
|health = ★★✩✩✩ |
|health = ★★✩✩✩ |
||
| − | |role = Ranger |
||
}}'''Peacock''' is the ultimate team player. She uses a number of abilities that increase the effectiveness of her allies and increase overall team synergy. Peacock has no concern for “fighting fair”, and would rather use ranged attacks than to trade blows punch for punch. Her ranged attacks and team buffs put her into a “bard” or “ranger” type role. |
}}'''Peacock''' is the ultimate team player. She uses a number of abilities that increase the effectiveness of her allies and increase overall team synergy. Peacock has no concern for “fighting fair”, and would rather use ranged attacks than to trade blows punch for punch. Her ranged attacks and team buffs put her into a “bard” or “ranger” type role. |
||
| Line 9: | Line 8: | ||
Many of Peacock’s abilities grant persistent bonuses for herself and her teammates. She also has a number of abilities that cause ARMOR BREAK, which helps her deal lots of damage while still attacking from afar. |
Many of Peacock’s abilities grant persistent bonuses for herself and her teammates. She also has a number of abilities that cause ARMOR BREAK, which helps her deal lots of damage while still attacking from afar. |
||
| + | |||
| + | Click [[Cutting Room Floor|here]] to view her Prize Fight. |
||
== Biography == |
== Biography == |
||
| Line 18: | Line 19: | ||
{{SGM CA |
{{SGM CA |
||
|Name = The Hole Idea |
|Name = The Hole Idea |
||
| − | |CA = |
+ | |CA = Tap THE HOLE IDEA button to vanish into a hole, avoiding some attacks. Tap elsewhere to emerge with a wallop! Otherwise, tap the button again or wait 2 seconds to exit without attacking. |
}} |
}} |
||
{{SGM MA |
{{SGM MA |
||
| Line 26: | Line 27: | ||
|Name2 = Cast Party |
|Name2 = Cast Party |
||
|MA2 = When Peacock or any teammate uses a TAG IN, there is a {{Num|30/50%}} chance that the attack will be UNBLOCKABLE |
|MA2 = When Peacock or any teammate uses a TAG IN, there is a {{Num|30/50%}} chance that the attack will be UNBLOCKABLE |
||
| + | }} |
||
| + | {{SGM PA |
||
| + | |Name = MANIC MUNITIONS |
||
| + | |PA = Peacock charges this ability each time she or the opponent is damaged by a PROJECTILE. |
||
| + | <br>CHARGE RATE: {{Num|3%}} per PROJECTILE. |
||
| + | ACTIVATION EFFECT: Peacock has a {{Num|25/50%}} chance to gain {{Num|1}} stack of ENRAGE for {{Num|5}} seconds, HASTE for {{Num|5}} seconds, or PRECISION when using a SPECIAL MOVE. |
||
}} |
}} |
||
==Variants== |
==Variants== |
||
| Line 40: | Line 47: | ||
|[[Image:Inkling.png|125px|Inkling|link=Inkling]]<center>[[Inkling]]</center> |
|[[Image:Inkling.png|125px|Inkling|link=Inkling]]<center>[[Inkling]]</center> |
||
|[[Image:Wildcard.png|125px|Wildcard|link=Wildcard]]<center>[[Wildcard]]</center> |
|[[Image:Wildcard.png|125px|Wildcard|link=Wildcard]]<center>[[Wildcard]]</center> |
||
| + | |[[Image:Prism Plumage.png|125px|Prism Plumage|link=Prism Plumage]]<center>[[Prism Plumage]]</center> |
||
|} |
|} |
||
'''''Gold:''''' |
'''''Gold:''''' |
||
| Line 46: | Line 54: | ||
|[[Image:Thats All Folks!.png|125px|That's All Folks!|link=That's All Folks!]]<center>[[That's All Folks!]]</center> |
|[[Image:Thats All Folks!.png|125px|That's All Folks!|link=That's All Folks!]]<center>[[That's All Folks!]]</center> |
||
|[[Image:Ultraviolent.png|125px|Ultraviolent|link=Ultraviolent]]<center>[[Ultraviolent]]</center> |
|[[Image:Ultraviolent.png|125px|Ultraviolent|link=Ultraviolent]]<center>[[Ultraviolent]]</center> |
||
| − | |[[ |
+ | |[[Image:Mean One.png|125px|Mean One|link=Mean One]]<center>[[Mean One]]</center> |
|} |
|} |
||
| + | |||
| + | {| |
||
| + | |[[Image:Primal Prodigy.png|125px|Primal Prodigy|link=Primal Prodigy]]<center>[[Primal Prodigy]]</center> |
||
| + | |} |
||
| + | |||
'''''Diamond:''''' |
'''''Diamond:''''' |
||
{| |
{| |
||
|[[Image:Freeze Frame.png|125px|Freeze Frame|link=Freeze Frame]]<center>[[Freeze Frame]]</center> |
|[[Image:Freeze Frame.png|125px|Freeze Frame|link=Freeze Frame]]<center>[[Freeze Frame]]</center> |
||
|[[Image:Dream Catcher.png|125px|Dream Catcher|link=Dream Catcher]]<center>[[Dream Catcher]]</center> |
|[[Image:Dream Catcher.png|125px|Dream Catcher|link=Dream Catcher]]<center>[[Dream Catcher]]</center> |
||
| + | |[[Image:Deal Breaker.png|125px|Deal Breaker|link=Deal Breaker]]<center>[[Deal Breaker]]</center> |
||
|} |
|} |
||
<br /> |
<br /> |
||
| Line 64: | Line 78: | ||
| height="120px" width="120px" valign="middle" |<center>[[Image:BANG, BANG, BANG!.png|100px|Bang, Bang, Bang!]]</center> |
| height="120px" width="120px" valign="middle" |<center>[[Image:BANG, BANG, BANG!.png|100px|Bang, Bang, Bang!]]</center> |
||
|<center>'''BANG, BANG, BANG!'''</center> |
|<center>'''BANG, BANG, BANG!'''</center> |
||
| − | |Has a {{Num| |
+ | |Has a {{Num|25/50/100%}} increased chance to land a CRITICAL HIT.<br />Tap up to 3 times. |
|- |
|- |
||
| height="120px" width="120px" valign="middle" |<center>[[Image:Boxcar George.png|100px|Boxcar George]]</center> |
| height="120px" width="120px" valign="middle" |<center>[[Image:Boxcar George.png|100px|Boxcar George]]</center> |
||
|<center>'''BOXCAR GEORGE'''</center> |
|<center>'''BOXCAR GEORGE'''</center> |
||
| − | |{{Num|25%}} chance on HIT to inflict BLEED for {{Num|4/8 |
+ | |{{Num|25/50%}} chance on HIT to inflict BLEED for {{Num|4/8}} seconds. |
|- |
|- |
||
| height="120px" width="120px" valign="middle" |<center>[[Image:Peacock Burst.png|100px|Burst]]</center> |
| height="120px" width="120px" valign="middle" |<center>[[Image:Peacock Burst.png|100px|Burst]]</center> |
||
|<center>'''BURST'''</center> |
|<center>'''BURST'''</center> |
||
| − | |On HIT, inflict ARMOR BREAK for {{Num|5/7/10}} seconds |
+ | |On HIT, inflict ARMOR BREAK for {{Num|5/7/10}} seconds. |
|- |
|- |
||
| height="120px" width="120px" valign="middle" |<center>[[Image:George at the Air Show.png|100px|George at the Air Show]]</center> |
| height="120px" width="120px" valign="middle" |<center>[[Image:George at the Air Show.png|100px|George at the Air Show]]</center> |
||
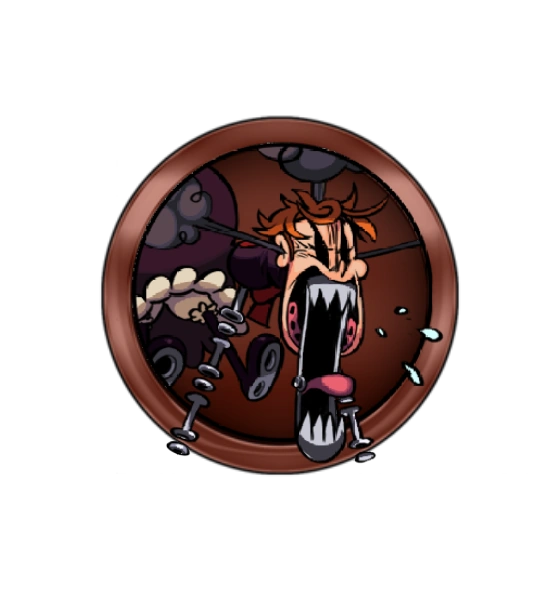
|<center>'''GEORGE AT THE AIR SHOW'''</center> |
|<center>'''GEORGE AT THE AIR SHOW'''</center> |
||
| − | |On HIT, inflict ARMOR BREAK for {{Num|4/8/12}} seconds |
+ | |On HIT, inflict ARMOR BREAK for {{Num|4/8/12}} seconds. |
|- |
|- |
||
| height="120px" width="120px" valign="middle" |<center>[[Image:Georges Day Out.png|100px|George's Day Out]]</center> |
| height="120px" width="120px" valign="middle" |<center>[[Image:Georges Day Out.png|100px|George's Day Out]]</center> |
||
|<center>'''GEORGE'S DAY OUT'''</center> |
|<center>'''GEORGE'S DAY OUT'''</center> |
||
| − | |No |
+ | |No Effects. |
|- |
|- |
||
| height="120px" width="120px" valign="middle" |<center>[[Image:Hi Hi Birdie.png|100px|Hi Hi Birdie]]</center> |
| height="120px" width="120px" valign="middle" |<center>[[Image:Hi Hi Birdie.png|100px|Hi Hi Birdie]]</center> |
||
|<center>'''HI HI BIRDIE'''</center> |
|<center>'''HI HI BIRDIE'''</center> |
||
| − | |TAUNT your opponent to gain IMMUNITY for {{Num|10/12/15}} seconds |
+ | |TAUNT your opponent to gain IMMUNITY for {{Num|10/12/15}} seconds. |
|- |
|- |
||
| height="120px" width="120px" valign="middle" |<center>[[Image:Whos On Second.png|100px|Who's On Second]]</center> |
| height="120px" width="120px" valign="middle" |<center>[[Image:Whos On Second.png|100px|Who's On Second]]</center> |
||
|<center>'''WHO'S ON SECOND'''</center> |
|<center>'''WHO'S ON SECOND'''</center> |
||
| − | |Forces |
+ | |Forces the opponent to TAG OUT on HIT, removing all COMBAT EFFECTS. |
|} |
|} |
||
| + | |||
==Blockbusters== |
==Blockbusters== |
||
{| class="article-table" border="1" cellspacing="1" cellpadding="1" style="width:100%;" |
{| class="article-table" border="1" cellspacing="1" cellpadding="1" style="width:100%;" |
||
| Line 101: | Line 116: | ||
|<center>'''IMPENDING DOOM'''</center> |
|<center>'''IMPENDING DOOM'''</center> |
||
|<center>'''3'''</center> |
|<center>'''3'''</center> |
||
| − | |Level 1 Blockbuster<br />{{Num|15/25 |
+ | |Level 1 Blockbuster<br />{{Num|15/25%}} chance on HIT to STUN opponent for {{Num|4/6}} seconds. |
|- |
|- |
||
| height="120px" width="120px" valign="middle" |<center>[[Image:Argus Agony.png|120x120px|Argus Agony]]</center> |
| height="120px" width="120px" valign="middle" |<center>[[Image:Argus Agony.png|120x120px|Argus Agony]]</center> |
||
|<center>'''ARGUS AGONY'''</center> |
|<center>'''ARGUS AGONY'''</center> |
||
|<center>4</center> |
|<center>4</center> |
||
| − | |Level 1 Blockbuster<br />{{Num|5%}} chance on HIT to inflict ARMOR BREAK for {{Num|3/5 |
+ | |Level 1 Blockbuster<br />{{Num|5/10%}} chance on HIT to inflict ARMOR BREAK for {{Num|3/5}} seconds. |
|- |
|- |
||
| height="120px" width="120px" valign="middle" |<center>[[Image:Lonesome Lenny.png|120x120px|Lonesome Lenny]]</center> |
| height="120px" width="120px" valign="middle" |<center>[[Image:Lonesome Lenny.png|120x120px|Lonesome Lenny]]</center> |
||
|<center>'''LONESOME LENNY'''</center> |
|<center>'''LONESOME LENNY'''</center> |
||
|<center>5</center> |
|<center>5</center> |
||
| − | |Level 2 Blockbuster<br />On HIT, inflict {{Num|1/2/ |
+ | |Level 2 Blockbuster<br />On HIT, inflict {{Num|1/2/3}} random DEBUFF(S) for {{Num|10}} seconds. |
|- |
|- |
||
| height="120px" width="120px" valign="middle" |<center>[[Image:Bandwagon Rushdown.png|120x120px|Bandwagon Rushdown]]</center> |
| height="120px" width="120px" valign="middle" |<center>[[Image:Bandwagon Rushdown.png|120x120px|Bandwagon Rushdown]]</center> |
||
|<center>'''BANDWAGON RUSHDOWN'''</center> |
|<center>'''BANDWAGON RUSHDOWN'''</center> |
||
|<center>6</center> |
|<center>6</center> |
||
| − | |Level 2 Blockbuster<br />{{Num|15/25/ |
+ | |Level 2 Blockbuster<br />{{Num|15/25/35%}} chance on HIT to remove all BUFFS. |
|- |
|- |
||
| height="120px" width="120px" valign="middle" |<center>[[Image:Deadly Airport.png|120x120px|Deadly Airport]]</center> |
| height="120px" width="120px" valign="middle" |<center>[[Image:Deadly Airport.png|120x120px|Deadly Airport]]</center> |
||
|<center>'''DEADLY AIRPORT'''</center> |
|<center>'''DEADLY AIRPORT'''</center> |
||
|<center>7</center> |
|<center>7</center> |
||
| − | |Level 3 Blockbuster |
+ | |Level 3 Blockbuster<br />{{Num|15/25%}} chance on HIT to inflict HEAVY BLEED for {{Num|5/10}} seconds. |
|- |
|- |
||
| height="120px" width="120px" valign="middle" |<center>[[Image:Good Fellows.png|120x120px|Good Fellows]]</center> |
| height="120px" width="120px" valign="middle" |<center>[[Image:Good Fellows.png|120x120px|Good Fellows]]</center> |
||
|<center>'''GOOD FELLOWS'''</center> |
|<center>'''GOOD FELLOWS'''</center> |
||
|<center>8</center> |
|<center>8</center> |
||
| − | |Level 3 Blockbuster |
+ | |Level 3 Blockbuster<br />{{Num|5/10%}} chance on HIT to inflict ARMOR BREAK for {{Num|5/8}} seconds. |
|} |
|} |
||
== Combo == |
== Combo == |
||
| − | (I'm not a peacock main so...do correct me or add more combos here) |
||
| − | * Note:G5 means full ground combo, by tapping 5 times |
||
| − | Up means swiping up |
||
| + | === Notes === |
||
| − | J means juggle, by tapping after launch |
||
| + | |||
| + | * ''L5 (or G5) means a chain of 5 normal ground/land attacks. (Usually by tapping 5 times on the screen)'' |
||
| + | * ''Up or Launcher means the normal move that sends your opponent in the air (usually by swiping up)'' |
||
| + | * ''A5 means a chain of 5 normal air attacks. (tap once after launching your opponent)'' |
||
| ⚫ | |||
| + | * ''Grab means a grab attack (swipe with 2 fingers)'' |
||
| + | * ''Trip means a trip attack (swipe down once)'' |
||
| + | * Most combos that start with L5 can be started with a dash instead. |
||
| + | |||
| + | === Standard Combos === |
||
| + | |||
| + | * L5 > Up > A5 > Impending Doom > Argus Agony |
||
| + | * L5 > Up > Boxcar George > George's Day Out (Does not work in corner) |
||
| + | * L5 > Impending Doom > L5 > Up > A5 > Argus Agony or Bandwagon Rushdown |
||
| ⚫ | |||
| + | * L5 > Impending Doom > L5 > Up > Argus Agony > Bandwagon Rushdown |
||
| + | * L5 > Impending Doom > L5 > Lonesome Lenny > Good Fellows |
||
| + | * The Hole Idea > Bang Bang Bang or Dash x2 |
||
| + | * (Far away) George's Day Out > Grab (Once the grab ends, George will hit them if you grab them before he explodes.) |
||
| + | * L5 > George's Day Out > Launcher (Can be used instead of a launcher in most combos.) |
||
| + | * (Only in corner) L5 > Launcher > A5 > Impending Doom > Argus Agony |
||
| + | * Bang Bang Bang > Argus Agony (Recommended to use at a range, if you manage to land Bang Bang Bang in neutral.) |
||
| + | |||
| + | === Competitive Mode Only === |
||
| + | * Impending Doom > Charge Attack (Breaks block, allowing you to start a combo. Doesn't work if they dash at you instead of blocking Impending Doom, or if they stop blocking and get knocked down by the charge attack instead.) |
||
| ⚫ | |||
| − | * Combo: |
||
| − | * G5-up-J-impending doom-argus agony |
||
| + | == Gallery == |
||
| − | * G5-impending doom-G5-up-J-argus argony or band wagon rush down |
||
| + | <gallery> |
||
| + | Skullgirls Mobile - Peacock Basic to Advanced Combos|Guide by LordOozy |
||
| + | ►PEACOCK COMBOS - SKULLGIRLS MOBILE|Guide by Leonhy |
||
| + | -Beginner Guide - Skullgirls Mobile- Easy Gameplay for Peacock|Guide by ZeoW |
||
| + | Peacock - All Variants Discussed (Skullgirls Mobile)|Guide by Kevin Pepino |
||
| + | </gallery> |
||
| ⚫ | |||
| − | * G5- impending doom- G5- up- argus agony-band wagon rushdown |
||
| − | * G5- impending doom- G5- lonesome lenny- good fellows |
||
| − | * Thanks Oozy gamer for the combo video (this was added wayyy after the video so...) |
||
[[Category:Characters]] |
[[Category:Characters]] |
||
[[Category:Peacock]] |
[[Category:Peacock]] |
||
Latest revision as of 12:12, 26 March 2024
Peacock is the ultimate team player. She uses a number of abilities that increase the effectiveness of her allies and increase overall team synergy. Peacock has no concern for “fighting fair”, and would rather use ranged attacks than to trade blows punch for punch. Her ranged attacks and team buffs put her into a “bard” or “ranger” type role.
With low Health but high Attack, it’s important for Peacock to harass enemies and exploit their weak points while staying out of harm’s way. Her ranged attacks and high mobility help her achieve this, and staying alive means that she can continue to power-up her teammates.
Many of Peacock’s abilities grant persistent bonuses for herself and her teammates. She also has a number of abilities that cause ARMOR BREAK, which helps her deal lots of damage while still attacking from afar.
Click here to view her Prize Fight.
Biography
Once a war orphan slave named Patricia, Peacock’s body was gruesomely mutilated by slave traders that captured her. She was rescued by Dr. Avian’s Anti-Skullgirls Labs, and rebuilt with a reality-defying arsenal of biomechanical weaponry: the Argus System augmented her body, and the Avery Unit gave her access to unprecedented weaponry.
Alas, they couldn’t do anything for her mind: Peacock’s damaged psyche and abiding love of cartoons shaped her new “toys” into a terrifying gang of cronies, who she has no qualms using to paint the town red… with blood. Terrifying as she is, she may be the kingdom’s best bet against the Skullgirl.
Abilities
Character Ability
Marquee Ability: TOON TIME
Prestige Ability
|
Variants
On mobile devices, tap on the variant text to navigate to their page, not their card.
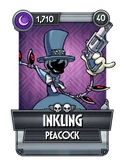
Bronze:
 |
 |
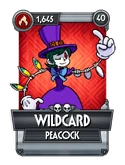
Silver:
 |
 |
 |
 |
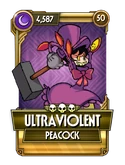
Gold:
 |
 |
 |
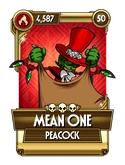 |
 |
Diamond:
 |
 |
 |
Special Moves
 |
Has a 25/50/100% increased chance to land a CRITICAL HIT. Tap up to 3 times. | |
 |
25/50% chance on HIT to inflict BLEED for 4/8 seconds. | |
 |
On HIT, inflict ARMOR BREAK for 5/7/10 seconds. | |
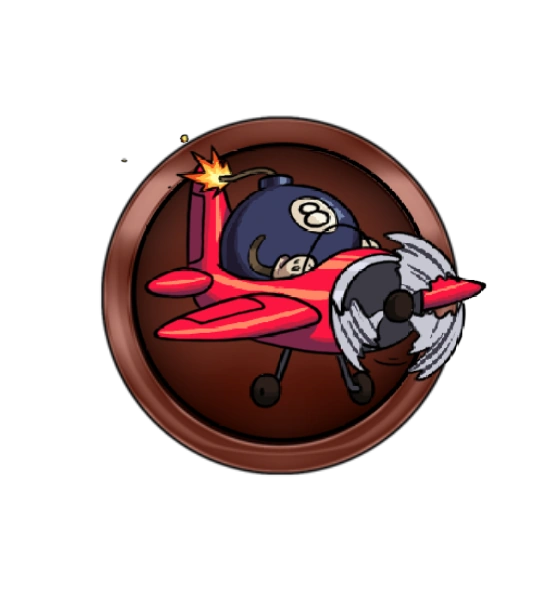 |
On HIT, inflict ARMOR BREAK for 4/8/12 seconds. | |
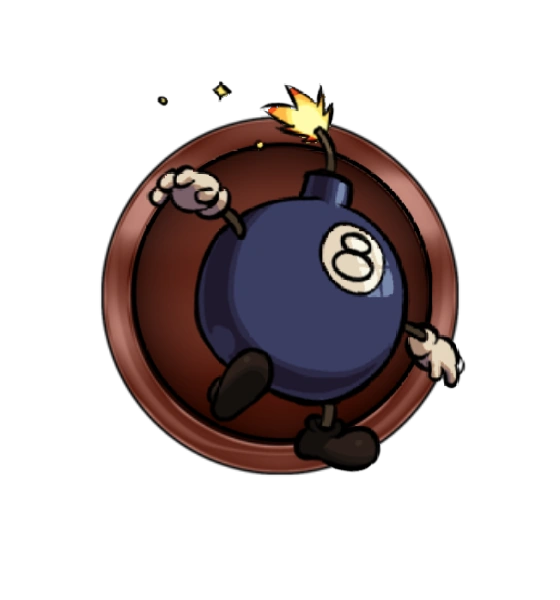 |
No Effects. | |
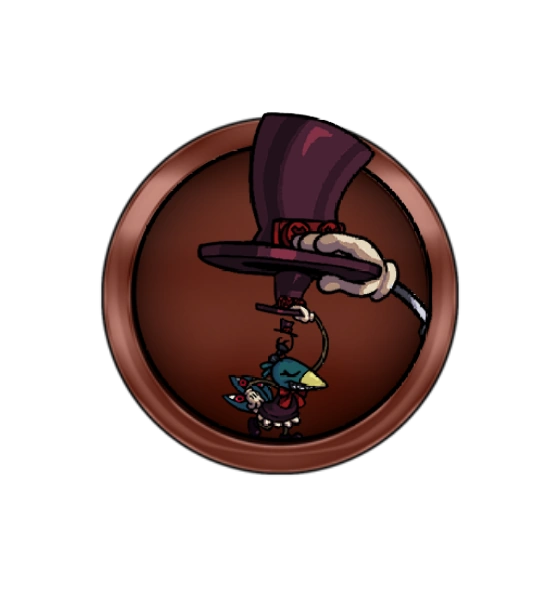 |
TAUNT your opponent to gain IMMUNITY for 10/12/15 seconds. | |
 |
Forces the opponent to TAG OUT on HIT, removing all COMBAT EFFECTS. |
Blockbusters
| Icon | Name | Gear Points | Description |
|---|---|---|---|
 |
Level 1 Blockbuster 15/25% chance on HIT to STUN opponent for 4/6 seconds. | ||
 |
Level 1 Blockbuster 5/10% chance on HIT to inflict ARMOR BREAK for 3/5 seconds. | ||
 |
Level 2 Blockbuster On HIT, inflict 1/2/3 random DEBUFF(S) for 10 seconds. | ||
 |
Level 2 Blockbuster 15/25/35% chance on HIT to remove all BUFFS. | ||
 |
Level 3 Blockbuster 15/25% chance on HIT to inflict HEAVY BLEED for 5/10 seconds. | ||
 |
Level 3 Blockbuster 5/10% chance on HIT to inflict ARMOR BREAK for 5/8 seconds. |
Combo
Notes
- L5 (or G5) means a chain of 5 normal ground/land attacks. (Usually by tapping 5 times on the screen)
- Up or Launcher means the normal move that sends your opponent in the air (usually by swiping up)
- A5 means a chain of 5 normal air attacks. (tap once after launching your opponent)
- Dash means a dash attack (swipe right once)
- Grab means a grab attack (swipe with 2 fingers)
- Trip means a trip attack (swipe down once)
- Most combos that start with L5 can be started with a dash instead.
Standard Combos
- L5 > Up > A5 > Impending Doom > Argus Agony
- L5 > Up > Boxcar George > George's Day Out (Does not work in corner)
- L5 > Impending Doom > L5 > Up > A5 > Argus Agony or Bandwagon Rushdown
- L5 > Up > Bang Bang Bang
- L5 > Impending Doom > L5 > Up > Argus Agony > Bandwagon Rushdown
- L5 > Impending Doom > L5 > Lonesome Lenny > Good Fellows
- The Hole Idea > Bang Bang Bang or Dash x2
- (Far away) George's Day Out > Grab (Once the grab ends, George will hit them if you grab them before he explodes.)
- L5 > George's Day Out > Launcher (Can be used instead of a launcher in most combos.)
- (Only in corner) L5 > Launcher > A5 > Impending Doom > Argus Agony
- Bang Bang Bang > Argus Agony (Recommended to use at a range, if you manage to land Bang Bang Bang in neutral.)
Competitive Mode Only
- Impending Doom > Charge Attack (Breaks block, allowing you to start a combo. Doesn't work if they dash at you instead of blocking Impending Doom, or if they stop blocking and get knocked down by the charge attack instead.)
Gallery
")
")
")
 (34 KB)")